
Scan Settings
Black Duck Binary Analysis scans for potentially sensitive information, but you can limit or disable this feature throughout your organization. Here's how:
Stop All Scanning
- From the Shortcuts, select Account settings.
- From the Account settings, select Scan.
- Under Scan, go to Information leakage, disable scanning by turning
off the toggle switch next to Scan for information leakage.
- Select Save Changes.
If you decide to start scanning again, you can turn the toggle switch back on.
Stop Some Types of Scanning
You can disable scanning for certain types of information and still allow others. Here's how:
- From the Shortcuts, select Account settings.
- From the Account settings, select Scan.
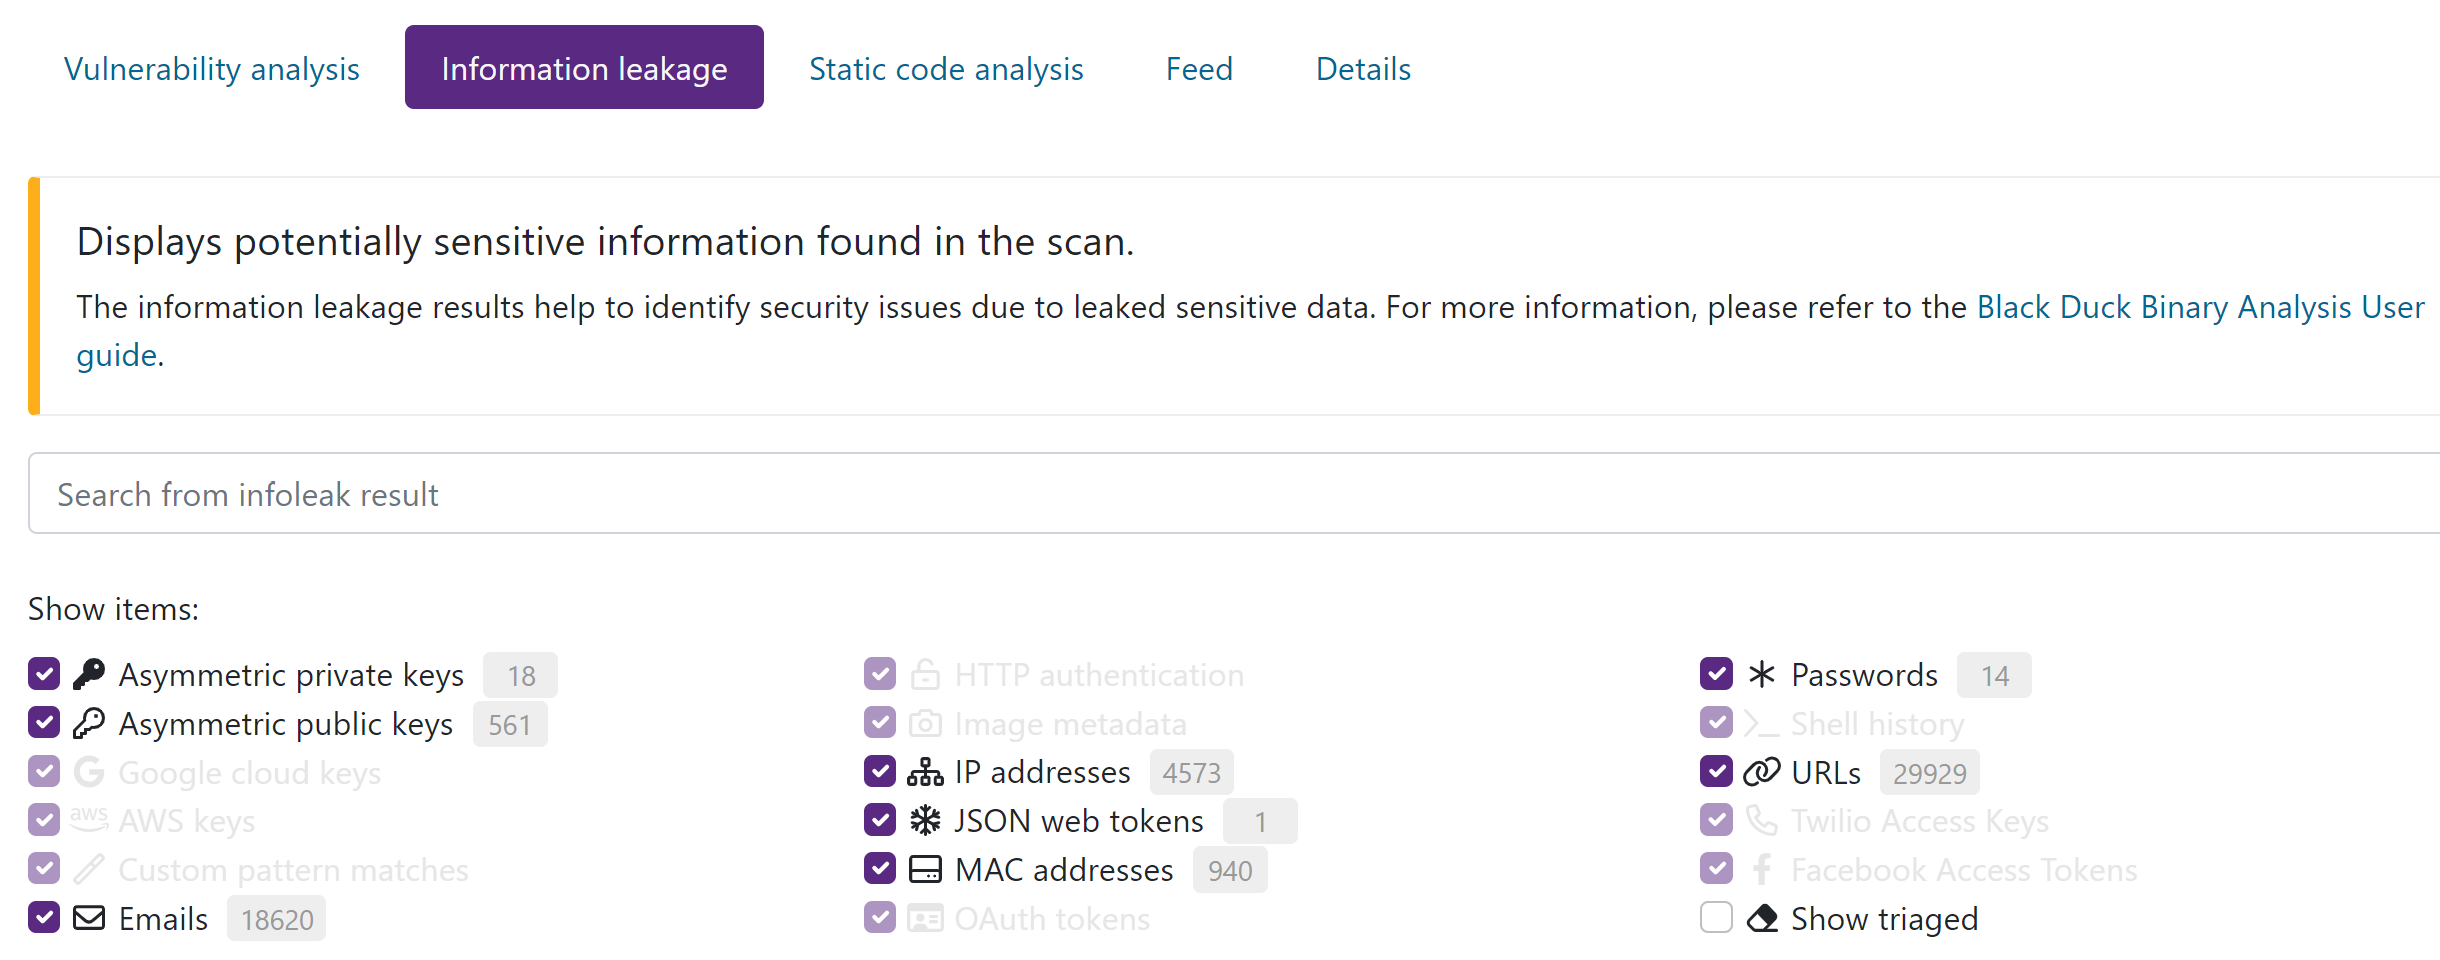
- Under Scan, go to Information leakage.
- In the Disable/enable infoleak types area (below the Information Leakage heading), clear the selected items that you want Black Duck Binary Analysis to stop scanning for. Whatever items you leave selected will still appear in the results each time you scan an application.
- Select Save Changes.
Obfuscate Information Leak Results for Certain Findings
In some cases, storing and displaying the found information leakage data could present a security issue. To avoid this, it is possible to obfuscate the information leakage data for certain types. Here's how:
- From the Shortcuts, select Account settings.
- From the Account settings, select Scan.
- Under Scan, go to Information leakage.
- In the Obfuscated infoleak types area (below the Information Leakage heading), select the items that you want Black Duck Binary Analysis to obfuscate the data for. Whatever items you leave cleared will still appear in clear text in the results each time you scan an application.
- Select Save Changes.
Scan Options
There are different scan options you can select to enhance your scan results.
Selecting the Rapid Scan Static toggle switch will use the Rapid Scan Static engine to find issues from static code.
Selecting the Code Similarity toggle switch will scan to detect small components. This is an experimental feature and can slow down scan significantly.
Selecting the Show .NET subcomponents as modules toggle will make common .NET standard library components appear as separate component entries in the scan results.
Selecting the Enable Go signature scanner enables classic go signature scanning even if scanned go program has an embedded bill of materials built into the binaries. This can sometimes results in false positives and versionless findings due to several go components sharing common code.
Selecting the Distro package validation toggle switch will enable the Linux distro package validation feature in the scanner. The feature checks that the declared contents of a Linux distro package are present in the scanned binary instead of relying only on the package database information. Enabling or disabling this setting can result in a different number of components reported for the scan.
Selecting the .NET package validation makes the scanner validate that declared .NET dependencies are actually included in the scan before reporting them.
Set Limits on Custom Pattern Search
An administrator or power user can configure custom searches to limit the following:
- Number of results per file
- Number of results per scan
- Total search time
This prevents the machine from slowing down when performing costly searches.
To configure the limits on custom pattern searches:
- From the Shortcuts, select Account settings.
- From the Account settings, select Scan.
- Under Scan, go to Information leakage.
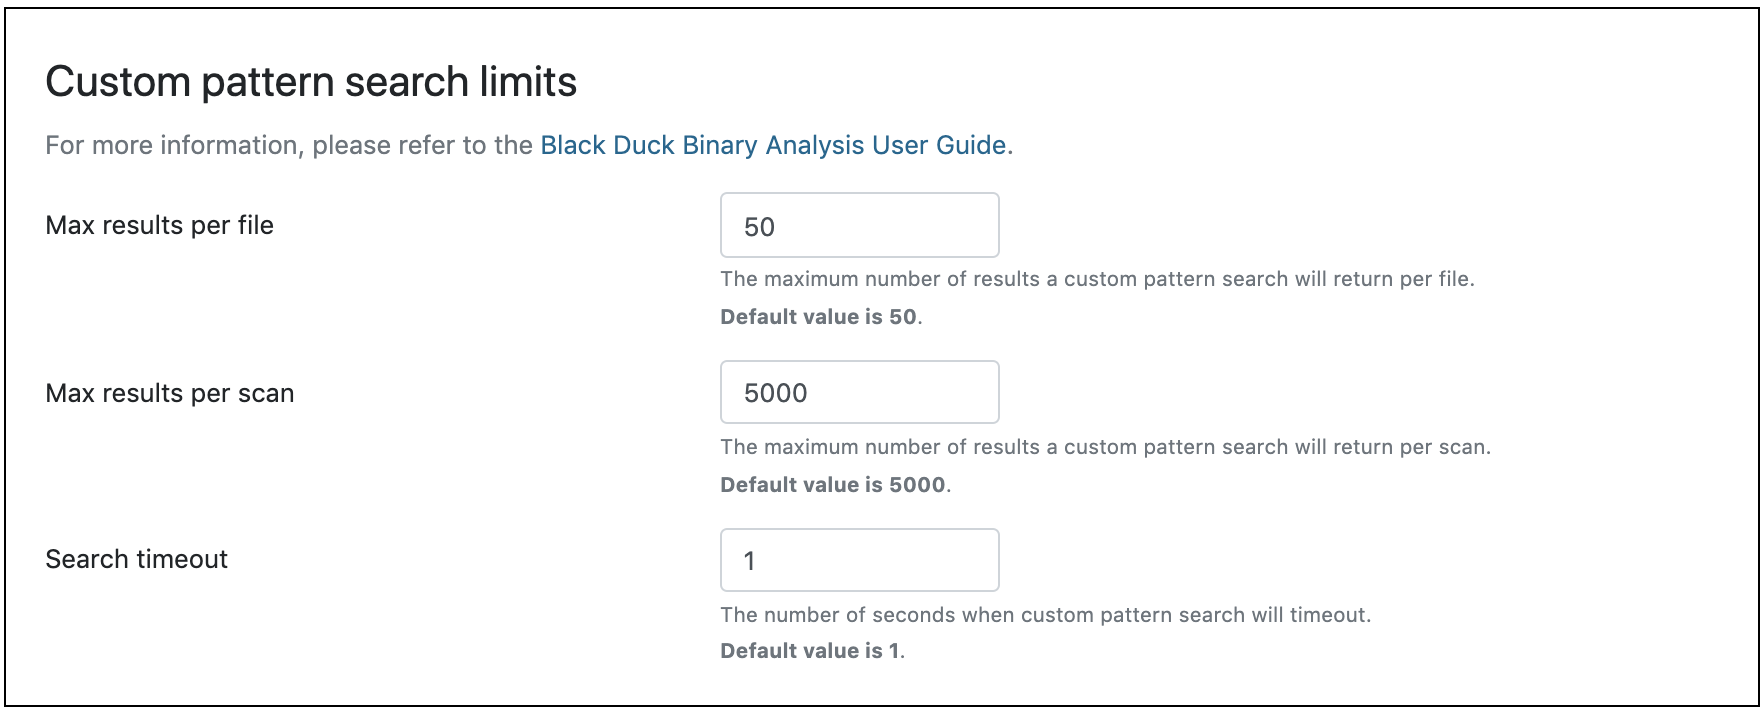
- Under Custom pattern search limits for Information leakage, enter new limits in the text fields for Max results per file, Max results per scan, and Search timeout.
Concurrent Scans Settings
Concurrent scan settings tell Black Duck Binary Analysis how many scans a single user can launch. They are set at the account level (companywide) but can be disabled on user level.
By default, there is no restriction.
Changing Concurrent Scans Settings across Your Company (for All Users)
- Go to Shortcuts and select Account settings.
- Under Account settings, select Scan from the menu.
- The settings are found under the Concurrent scans per user heading.
- Set the desired value. To disable the concurrent scans limit across your company, set the value to 0.
The changes will apply to all users companywide.
Disabling Concurrent Scans Settings for a User
- From Shortcuts, select Manage Users.
- In the Users list, choose a user.
- Select the User settings tab.
- On the user tab, turn off the Restrict concurrent scans toggle.